One of the ways you can create a fully featured website with WordPress is by using the built-in Gutenberg Block Editor. This is a handy suite of tools that allows you to manage your website’s content and style via various blocks, regardless of whether you want to create a new page or publish a new blog post.
In a previous article, we talked about what is the Gutenberg Editor and how it functions.
In this article, we will focus more on how to insert Gutenberg blocks while editing your content, so you craft a layout that perfectly fits your preferences.
How to Insert Gutenberg Blocks in WordPress
One of the most important characteristics of a successful website is the constant addition of fresh content. When using Gutenberg, you can keep everything on your site up to date by including blocks with text, media, and widgets, and even insert code blocks and many other elements into your pages and posts.
In the following paragraphs, you will read how to insert blocks in three main ways, while crafting a simple blog post at the same time.
Follow these steps (also keep in mind that the process is similar for both blog pieces and webpages):
The first thing to do is to enter your WordPress admin panel.
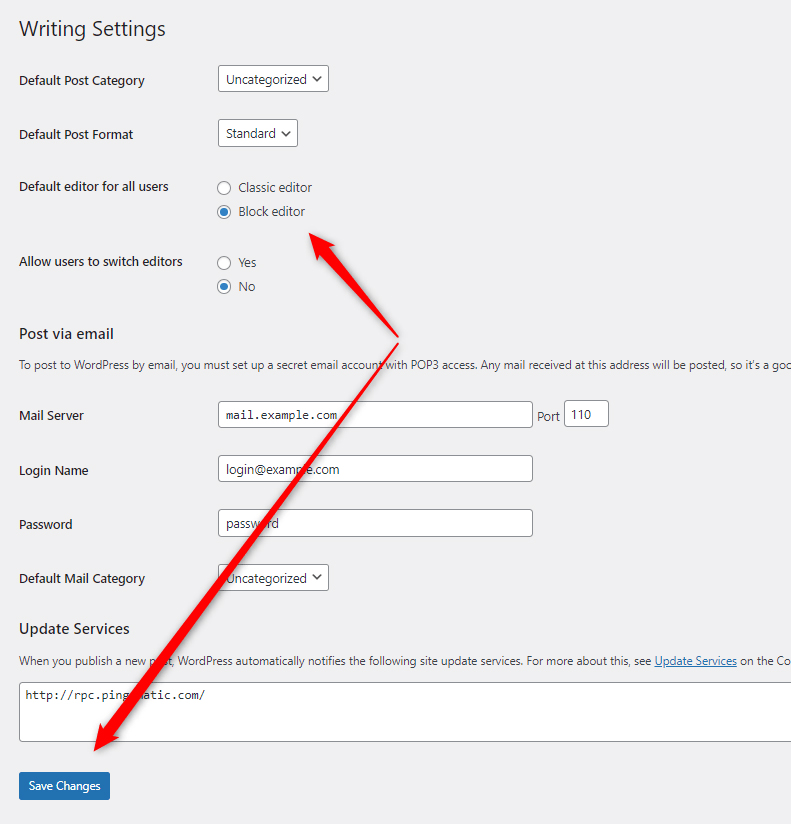
Then make sure that you have selected Gutenberg as your default editor. To activate it, simply go to Settings->Writing:

Then, select Block Editor from the Default editor for all users option menu and save the changes:
Now that you have activated Gutenberg, you can head to the page or post-creation section and begin crafting your content with various blocks.
For this demonstration, we will create a sample post (Posts->Add New), but keep in mind that the process is the same, should you wish to create a new WordPress page and design its layout and content (Pages->Add New).
However, if you wish to see some more comprehensive work with Gutenberg, have a look at how to create posts via the Block Editor.
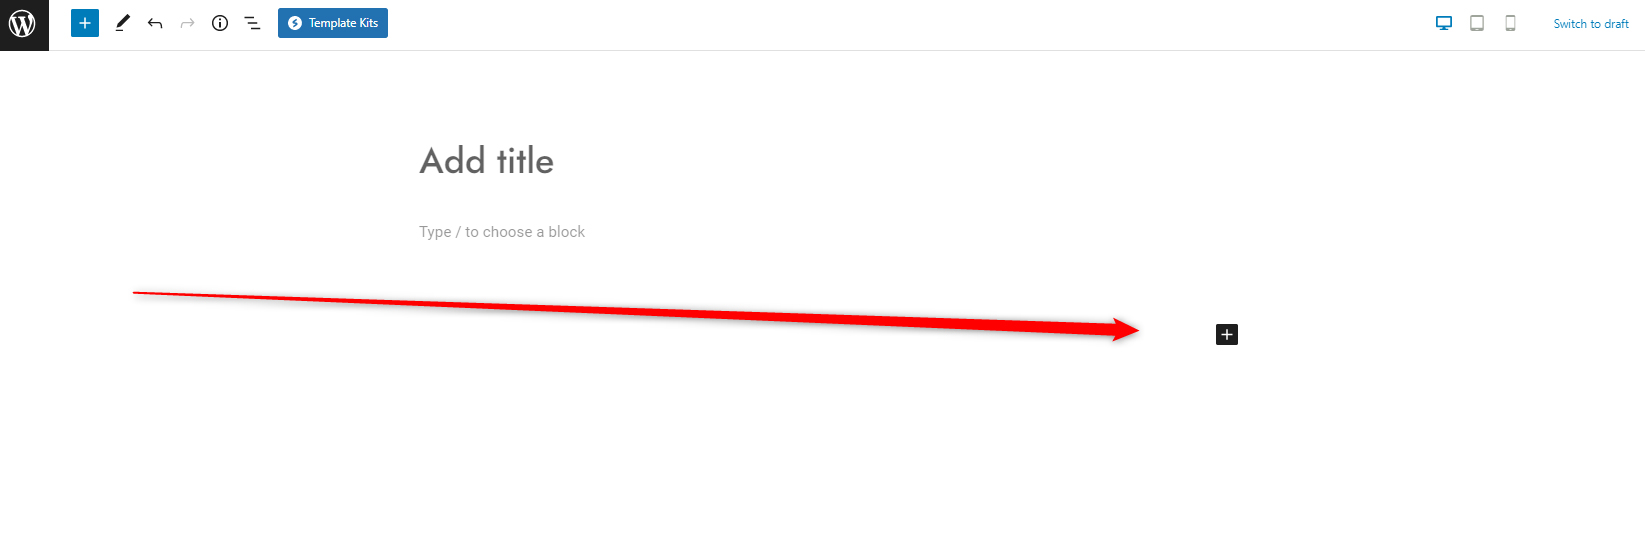
Once on the creation page, have a look at the Gutenberg interface:

There are three ways of adding a block:
- By clicking the black Plus button that will open a list with the most common blocks.
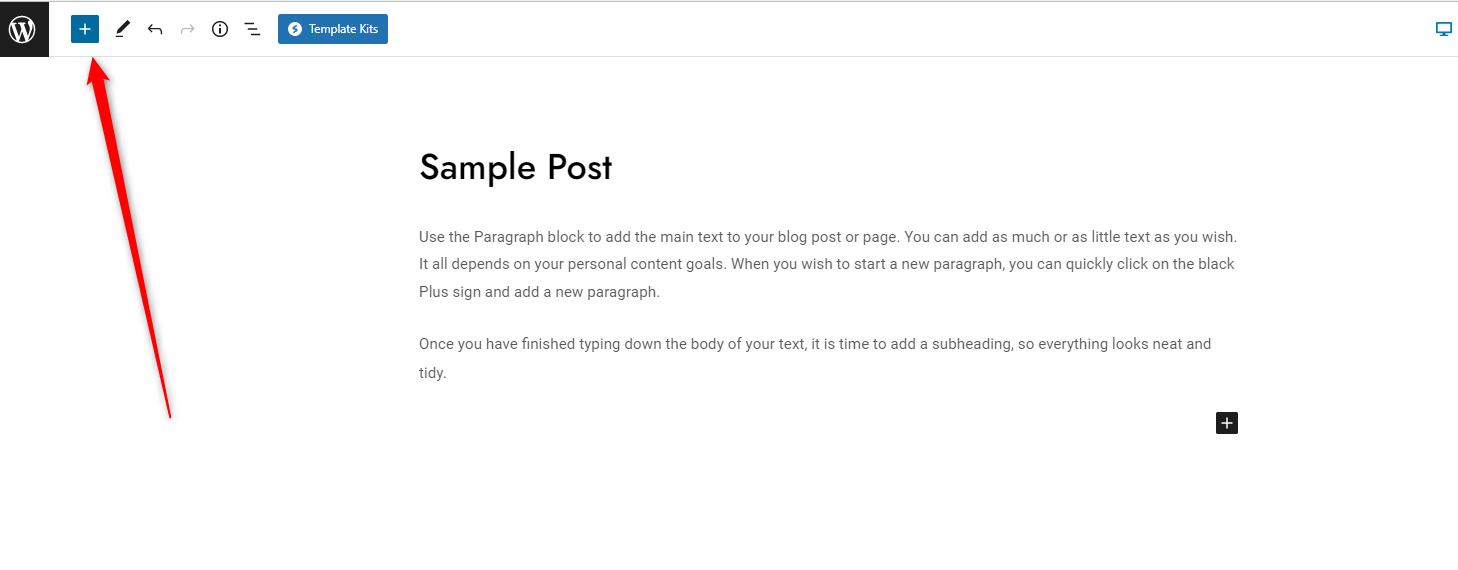
- By clicking on the blue Block Inserter button open the full library of available blocks.
- By hovering your mouse cursor between two already placed blocks will give you the option to insert a new item between them.
Now, let’s see how all these options work in detail.
For this demonstration, we will add several paragraphs, a subheading, and a media block for an image we would use for our blog post.
Add a New Block via the Black Plus Button
Using the Plus button is by far the most common way of inserting Gutenberg blocks in your posts and pages. It is always visible and once you click it, you can choose among the types of blocks you use the most.
If you wish to add something more specific, you can always click on the Browse All button which would open the entire library of available blocks.
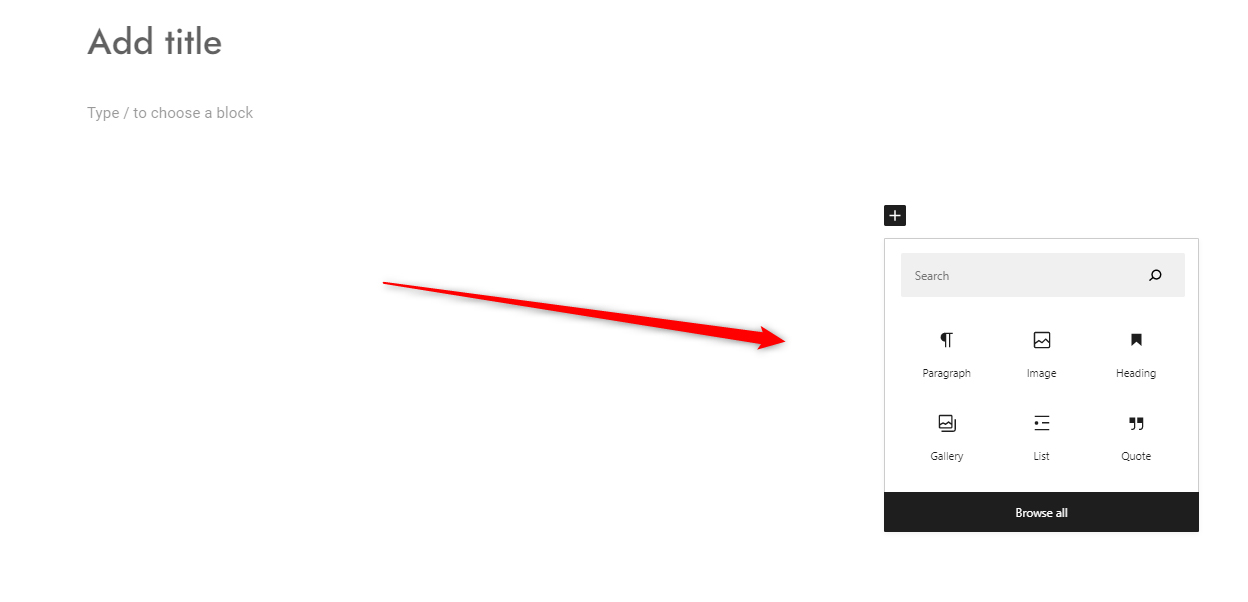
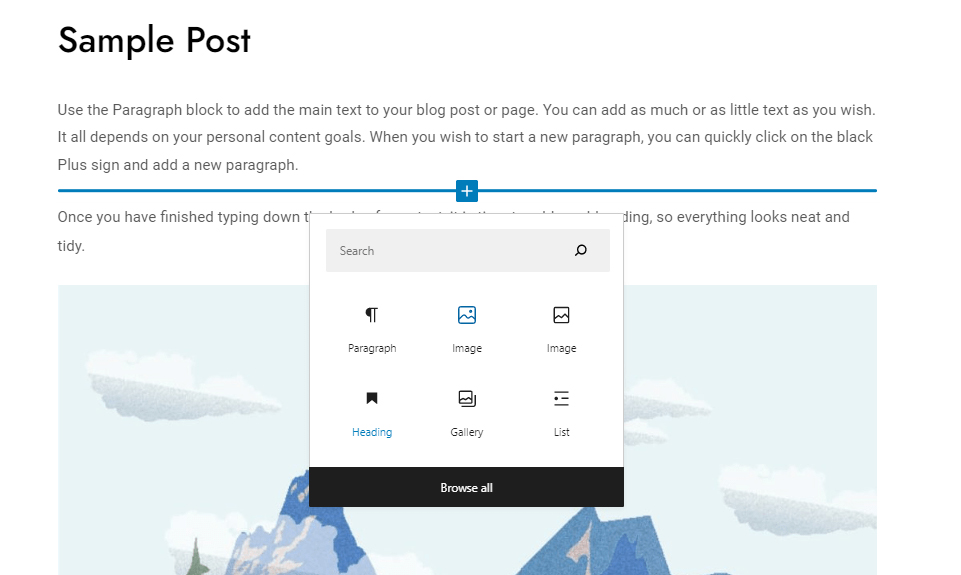
To see how it all works, simply click on the black Plus button:
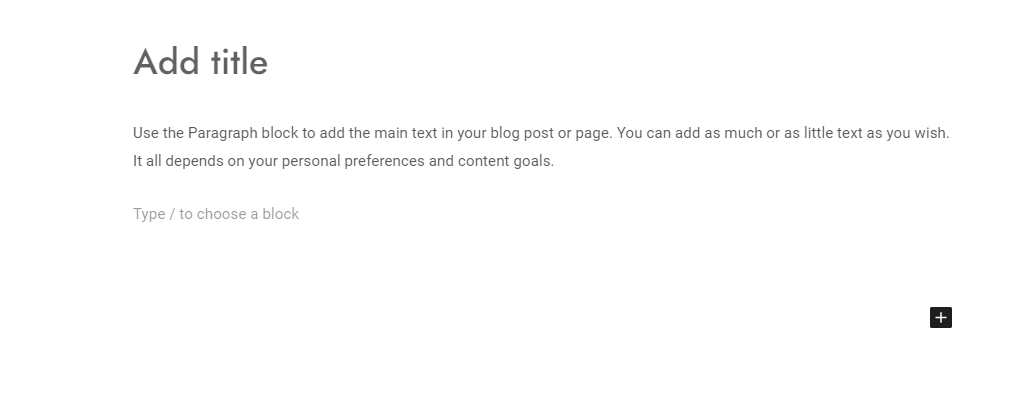
A new menu with suggested options will appear. Select the one that you wish to add to your content. In our example, we will add a paragraph block:
Once you select an option, a new box with dedicated settings will appear right under the title:
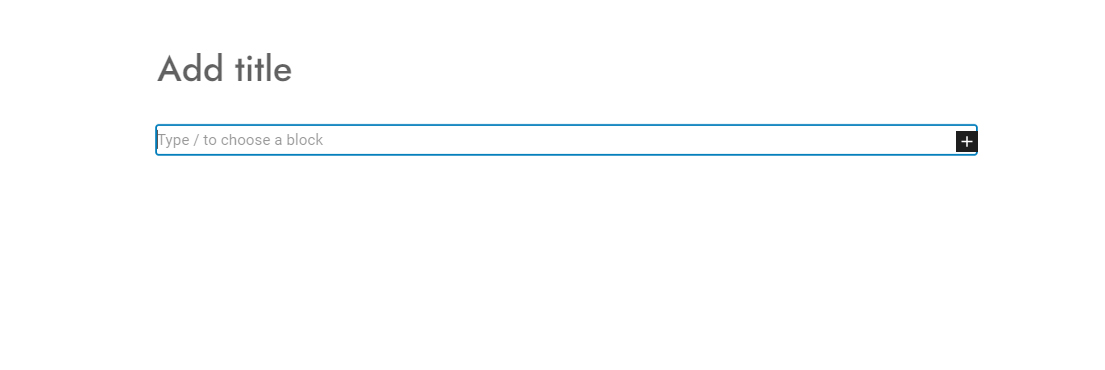
Depending on the type of block you selected, the options will vary:
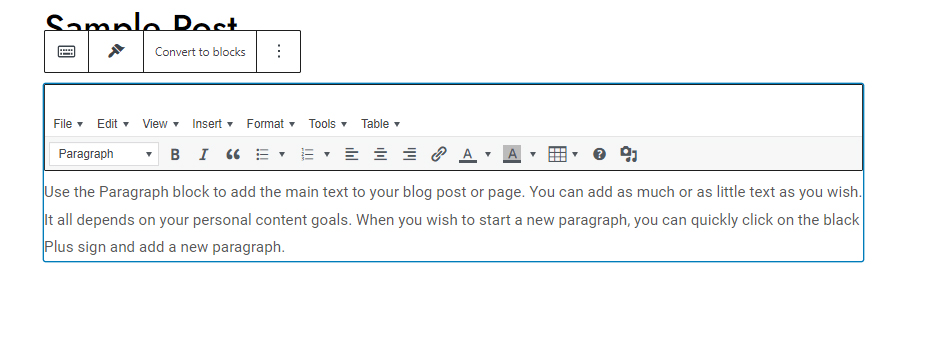
Since we selected a paragraph box, we will start typing our content:
Also, notice the Browse All option when clicking on the black Plus button:

This option allows you to quickly open the library of available Gutenberg blocks and select the one that you search for:
For our purposes, we will add two Paragraph boxes:

In the following section, we will add an image block with the second available option.
Add a New Gutenberg Block via the Blue Block Inserter
The second way you can add blocks to your post or page is by accessing the full library of available Gutenberg blocks.
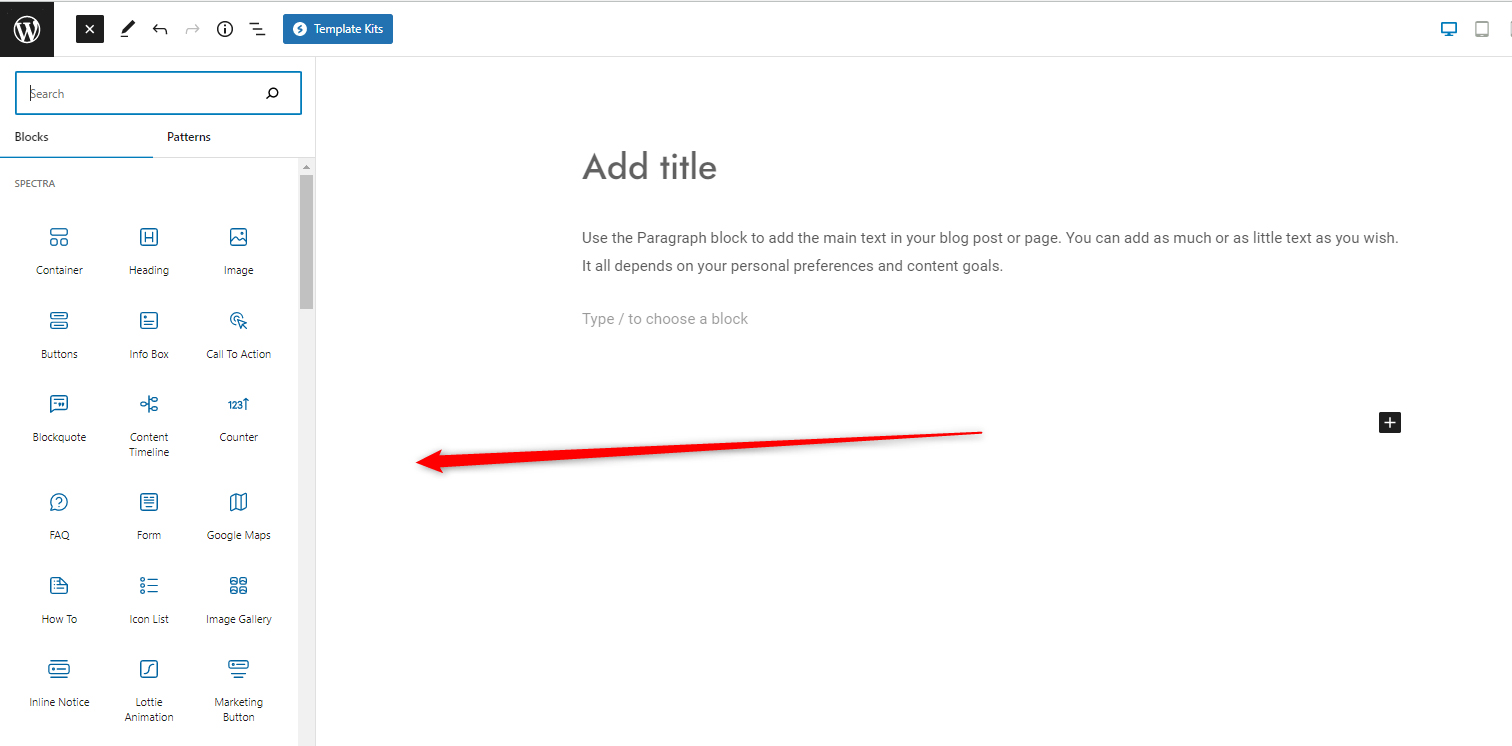
Do so by clicking on the blue Block Inserter button, located at the top left of the screen:
Once you do, you will open a wide list of available options. Choose the one that you wish to include in your page or post.
Also, notice how an informative box with details appears next to each block you point with your mouse cursor:

Once you select the block, it will appear right below the ones you are already using:
Notice that it looks a bit different than the previous two – this is due to the fact that each block provides some functionality and therefore comes with specific options that allow you to customize this functionality.
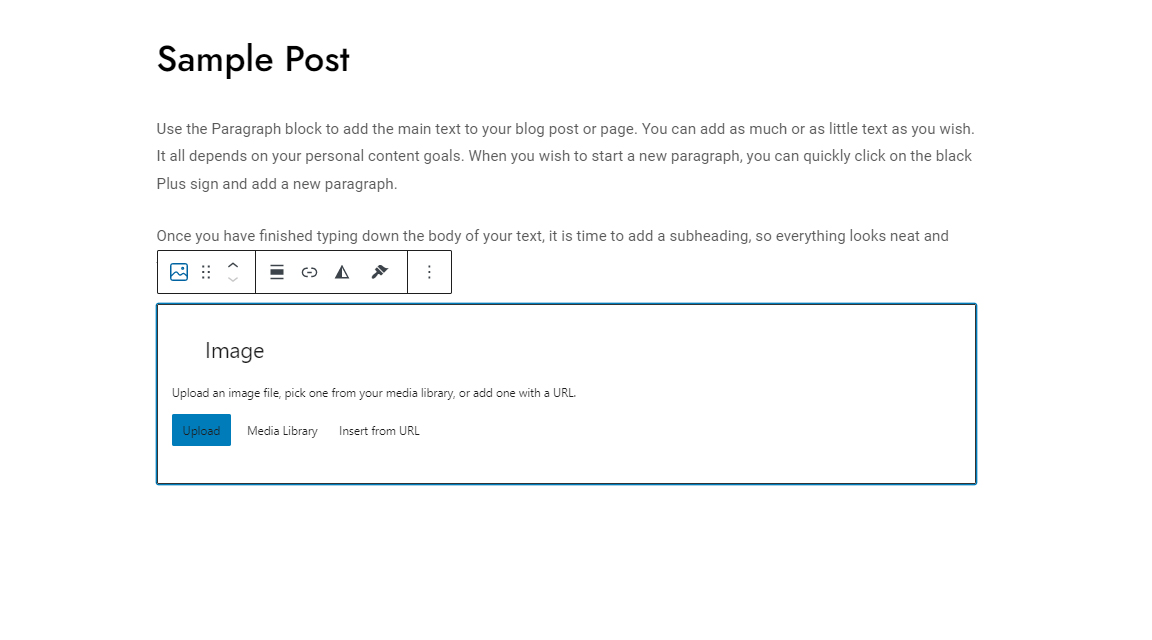
In our case, we can include some images, via an Image block right below our content.
Now, via this box, we will access the WordPress Media Library and select an image we want to include in our page/post:

Now that we have tried out the second way of inserting content with Gutenberg, it is time to proceed with the third option and insert something in between the two paragraphs – for example, a subheading.
Insert a new Gutenberg Block Between Two Others
The third way of adding a block to your content is by simply hovering your mouse cursor between two already-inserted blocks.
By doing so, a new button will automatically appear:

Click it and select the type of content you wish to insert. If you don’t see it in the suggestions, simply click on the Browse all button, so you open the full Blocks directory and select from there:
We will insert a sample subheading:

Once we click it, a new block with dedicated options appears:

Now, we can type down the subheading and customize it a bit.
For our sample post, we will choose that this is an H2 heading. There are numerous formatting options we can instantly use to tweak the content box, but for now, we will keep it simple and minimalistic:

Now that we have tried out all the ways we can add blocks to our pages and posts, it is time to publish our content.
To do so, click on the blue Publish button at the top right corner of the screen:

You have now successfully managed to craft a page or a post via the Gutenberg Block Editor and add some content to it.
Use the Reusable Gutenberg Blocks
If you are using Gutenberg for crafting similar types of content on your website, then you will love the Reusable Blocks function. It allows you to save any block with precise settings and use it on various pages and blog posts.
Read about how to use WordPress Reusable blocks and save time and effort when working on your website.
Conclusion
Working with the Gutenberg editor means working with various blocks with specific functionality. Each block contains a certain type of settings and when stacked together, these blocks determine the layout of your web page or blog post.
There are three main ways of adding Gutenberg blocks and in this article, we have managed to use all of them to craft and publish a simple WordPress post.
Related:
- WordPress Basics Pt.1
- How to Display Code with WordPress Gutenberg Code Block
- 5 Best WordPress Slider Plugins for Gutenberg
- How to Create Posts in WordPress via the Block Editor (Step By Step Guide)
- How to Display Code with WordPress Gutenberg Code Block
- How to Add Tabs to Your WordPress Site with Gutenberg
- How to Change Text Color with WordPress Block Editor
- How to Use WordPress Reusable Blocks
- How to Copy a Page with WordPress Gutenberg Editor
- 17 Things You Need to Do Right After You’ve Installed WordPress
- What are the components of WordPress Posts
- How to Customize Your WordPress Dashboard
- What is Media in WordPress
- How to Use Anchor Texts in WordPress