Learning how to use the WordPress media library will bring you a lot of benefits when it comes to the aesthetics of your site.
Incorporating media files in your website help it become more appealing to your site visitors and also contribute to the easier digestion of the information you share.
Since we have already covered what is media in WordPress, in this article, you will learn how to upload media in WordPress, how to add details to your media items, how to add media to your posts and pages, as well as some handy tips and tricks.
How to Use the WordPress Media Library
How to Upload Media in WordPress Media Library
To include media in your static or dynamic pages, you must first upload it to WordPress. To do so, go to the Media Library via the admin panel, and from there and click on the Add New button:
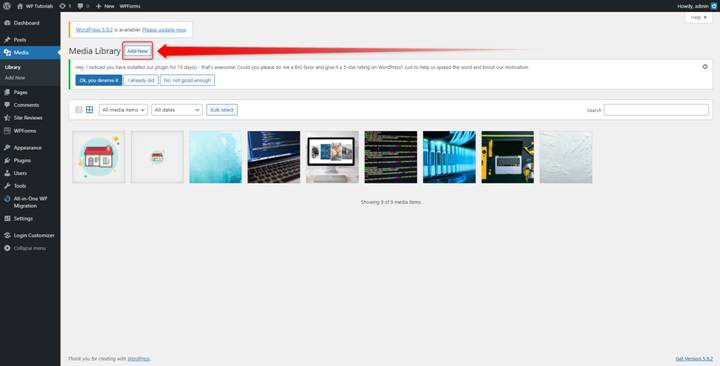
This will open a new section:
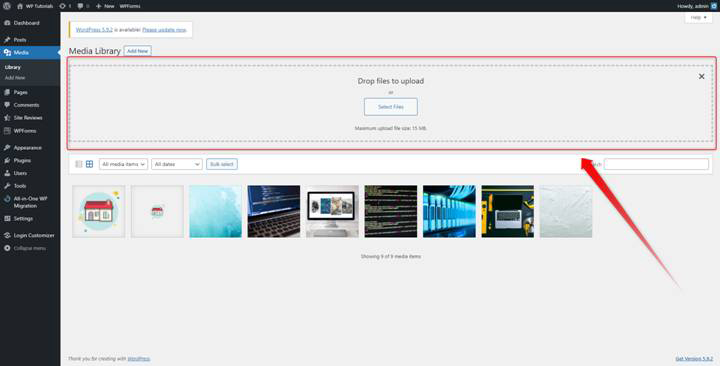
As the text suggests, you can simply drag and drop your selected media files from your computer to the dedicated field, or click on the Select File button and manually select and upload the items. Either way, the result will be the same – the selected files will be uploaded to the library.
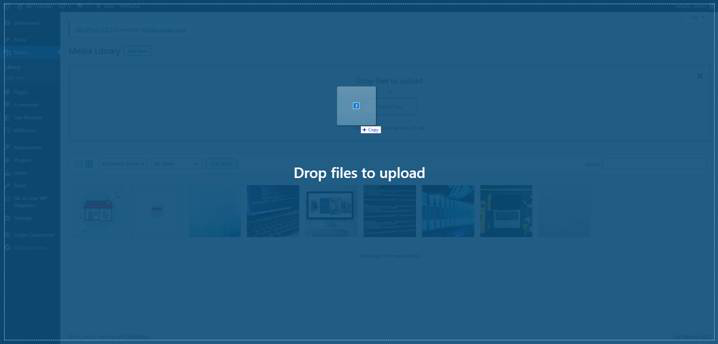
In case you decided to drag and drop a file or a set of files, simply select them from your computer directory and then while pressing down the right mouse button, move them to the Drop Files area and release the right button:
Should you choose the other way, click on the Select Files button. This will open a browser to your computer directories – simply find the folder which contains the files you want to upload, select them and click on the Open button at the corner right of the page:

When the images are uploaded and ready to be used, you will see their visual representation:
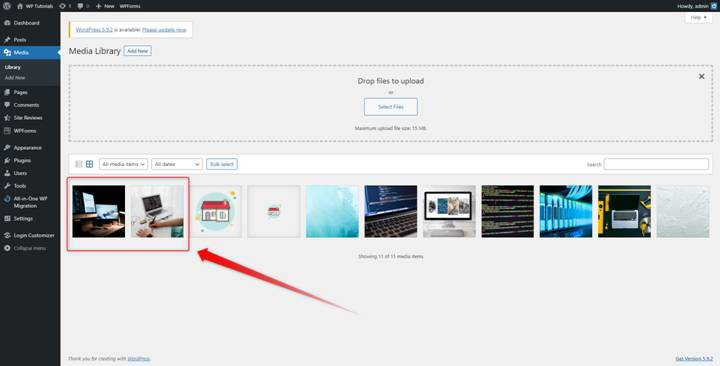
This is how you upload media to your WordPress Media Library. In the next section, you will learn how to add details to your media files.
How to Add Details to WordPress Media Files
Adding details is important for several reasons:
- It makes it easier to search and use files.
- Details can appear next to the media item and contribute to a more comprehensive description, should you decide to do so.
- Adding details can contribute to SEO and higher search engine ranks of your pages.
To add details, simply go to your Media Library while you are in Page Edit, or Post Edit pages and click on any media file:
When you do so, a new menu will appear:
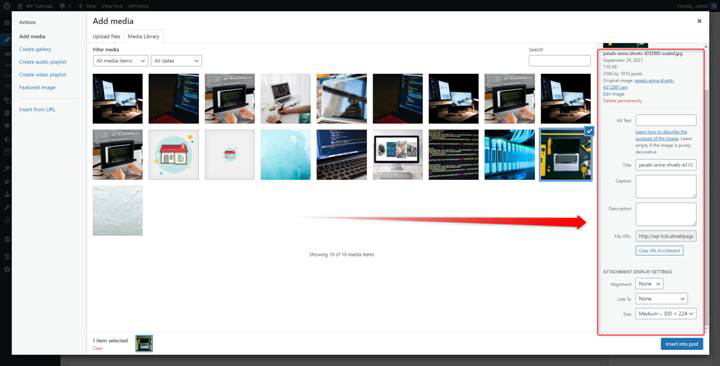
At the right of the page, you will notice an area with different options and fields. This is indeed where you add your various media file details:
- Title: the name of this file
- Caption: A short explanation text. It displays right below the file
- Alternate (Alt) Text: Include some additional information about the media item. This text also appears when the file cannot be displayed.
- Description: Add a description of the file.
A little further down the menu, there’s also another dedicated area with settings, named ATTACHMENT DISPLAY SETTINGS. From here you can control some display features of the selected media file such as:
- Alignment: From here you can select where the file will be placed horizontally – left, center, right or none.
- Link To: Include a link or remove a hyperlink.
- Size: specify the width and length of the displayed image. There are five optional settings: Small, Medium, Large, Full Size, and Custom.
Now, it is time to learn how to include media files in your pages and posts.
How to Add Media Files to Your WordPress Pages
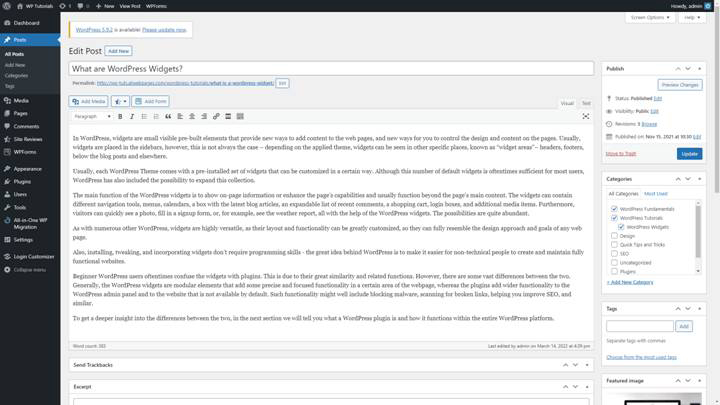
To embed a media item in your pages, first, open the page you wish to update with media files. You can select both a page from your static pages and blog:
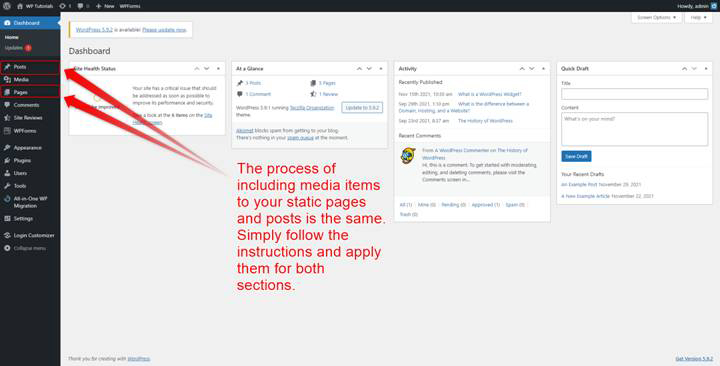
For this example, we will add images to our What are WordPress Widgets article.
First, you need to open the edit page of the chosen page/post. To do so, simply go to Posts->All Posts(or Pages->All Pages) and select which one you wish to edit, and hover your mouse cursor over the heading. A small menu with options should appear. From there click on Edit:
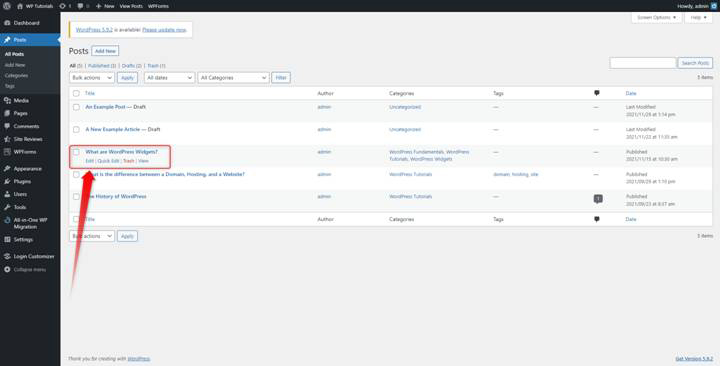
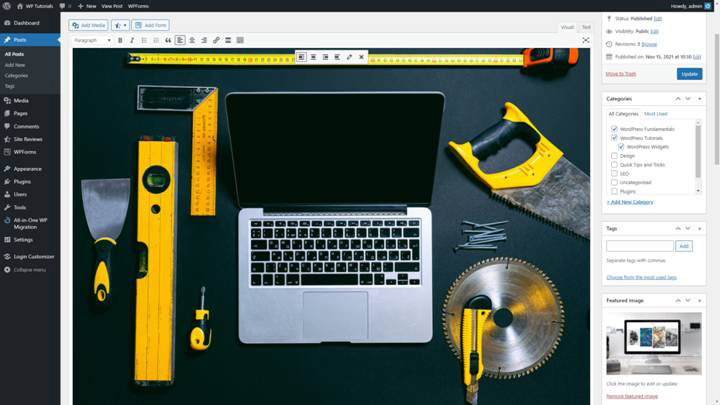
This will open the edit page:
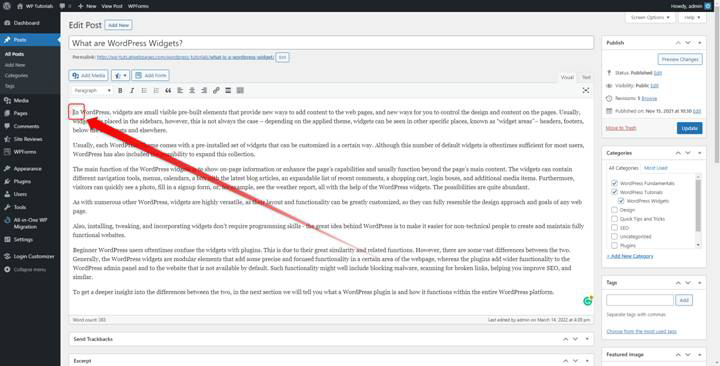
Notice what the current position of your cursor is. This will determine the place where the media item will be positioned once you include it in the page/post:
While in the Edit Page, click on the Add Media button right at the top right of the text body area:
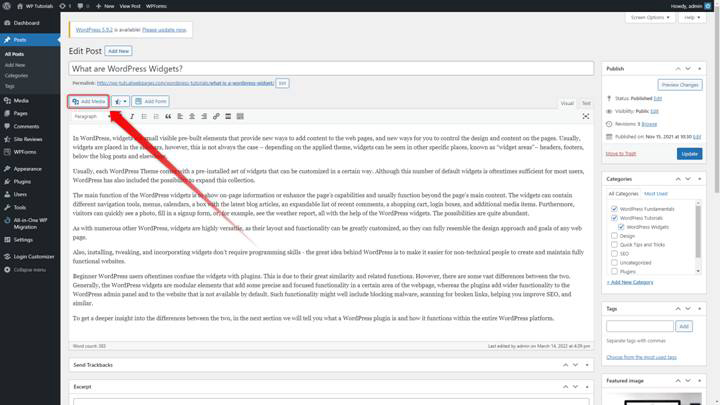
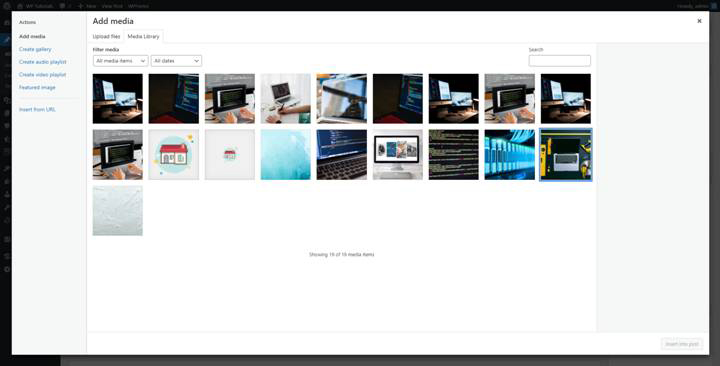
This will open your Media Library from where you will select which media item to include in your page/post:

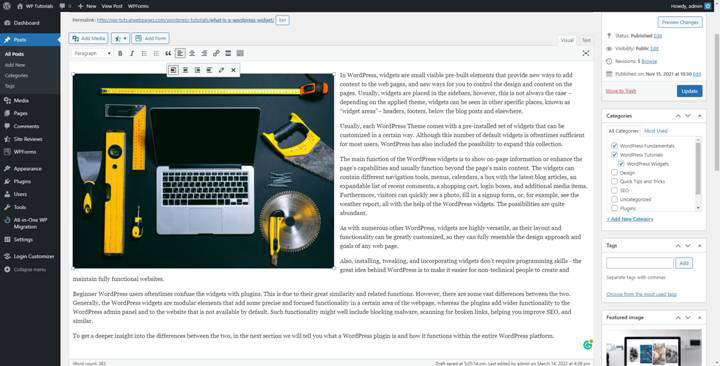
Find the image/video/audio file you wish to add, click it and then click on the Insert into post button:
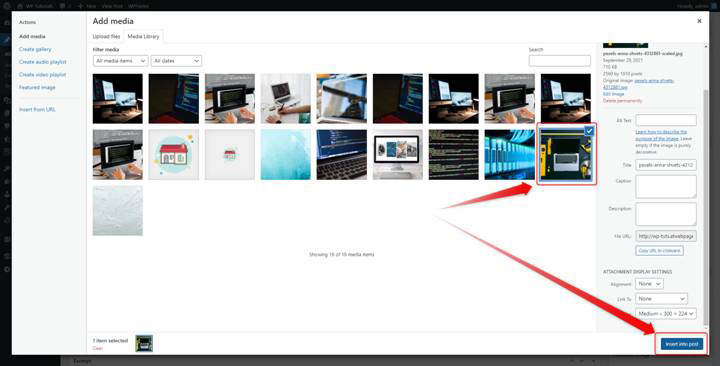
This will ensure that the media file will be included in the page/post exactly at the place of your cursor:
By using this technique, you can add as many media files as you wish to your pages/posts exactly wherever you decide on your pages.
Furthermore, you can change the alignment and size of your media items by clicking them while they are inserted in your page/post and using the menu, which appears at the top center section:
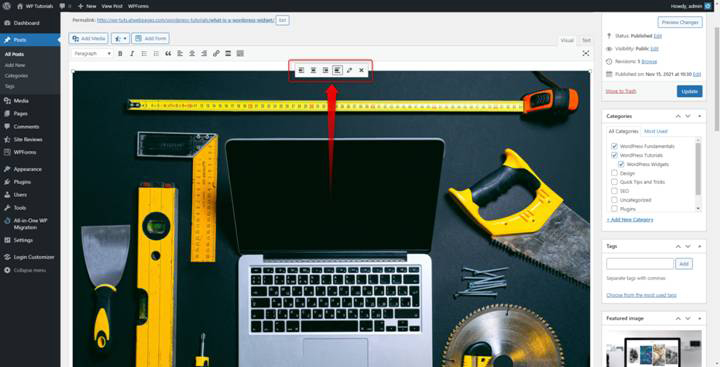
From here you can change the alignment and edit the details of the item. Also, you can select a different size. Spend some time and try out new positions and sizes:
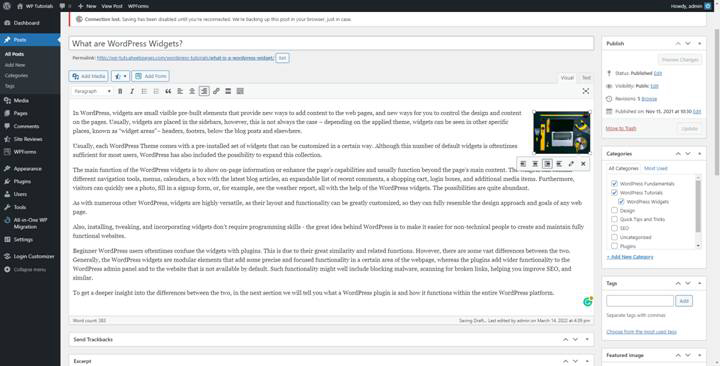
When you are ready with adding and editing your media files, click on the blue Update button. This will save and apply your changes to the page/post:
WordPress Media Library – Tips and Tricks
Although using the Media Library is simple, there are still some tips that you can follow so you improve your site’s speed, ease your work, and add a kick to SEO:
- Always use licensed images and ask for permission when using media, tagged as intellectual property
- For more exclusive content, try to create original pieces of media – original photos, audio, and videos
- Fill in the media details – this will ease your work once you acquire a large number of media files. Also, try to include some keywords in descriptions, as they give a kick to SEO.
- Optimize your media files before uploading them to WordPress – large files tend to slow down the system and also can make your site rank lower in search results.
- Don’t be afraid of experimenting with new approaches – creating a beautiful and functional website is all about trial and error. Spend some time and find out what works for your site and whatnot.
Conclusion
Easy to learn and master, the media library will quickly become your secret weapon to make your website more beautiful and appealing.
Also, check out our easy-to-follow WordPress guide that will help you understand everything important about the platform and the site-building process.
Related: